

This is a short article running through the basic steps of beginner photo editing using Photoshop’s RAW editor on .CR2 files
Step 1. Analyze your photo and mentally take notes on what is wrong with the image and what you want to improve. The image in question is of a good subject matter, caught at a good time of the day – though there are lots that need to be fixed or enhanced on the image.
1. Horizon must be straightened.
2. Image must be brightened as its dark
3. Image can use a slight clarity boost to bring out details
4. Shadows are a bit strong, we will need to lighten up the shadows a bit
5. Use the temperature sliders to create a sunset-like temperature, as the camera often doesn’t capture sunset atmosphere well.
6. Colours are not popping as much as they did in reality, so saturation must be added
7. The sky appears generally dull and a little too bright from the exposure adjustment earlier, while the foreground appears alright, so we’ll need to adjust the sky separately using gradient tools and the highlights slider.
Step 1 – Straightening the Horizon

At the top of the toolbar you’ll see the straighten tool, click on this tool – then click on the left hand side of your horizon and hold down the left mouse button, dragging the line to the side of the other horizon, as seen in the image. Once you have done this, it will show you a preview of the newly straightened image, you can then press enter on the keyboard.
Step 2 – Bright the Image by increasing brightness/exposure
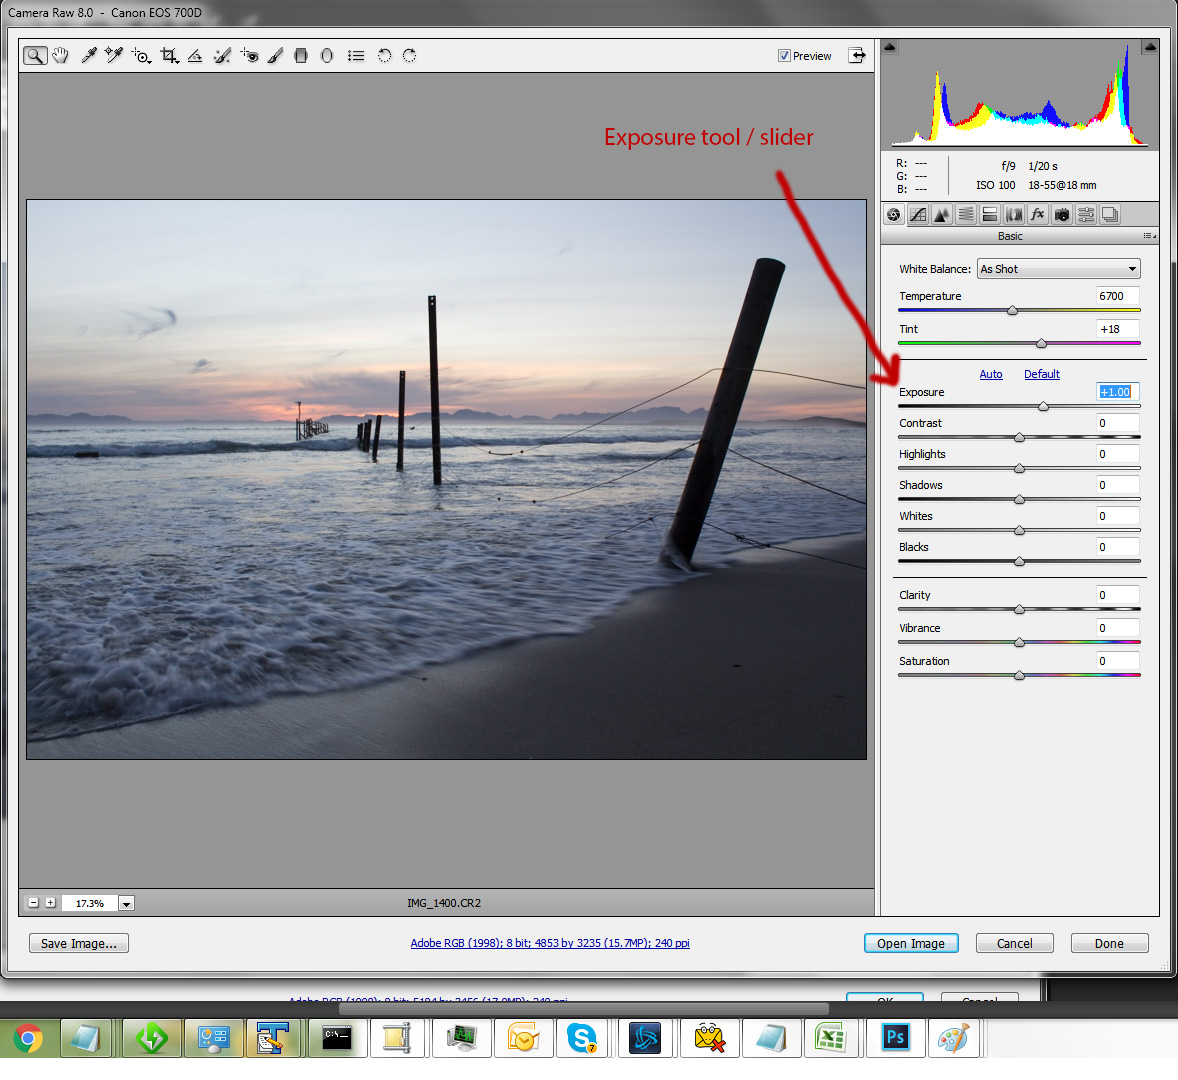
Use the exposure slider to increase the brightness of the image just a bit, making sure not to make it too bright.
Step 3 – Increase clarity, making more definition in the image

Use the clarity slider, to increase the clarity just a touch, to bring out more definition.
Step 4 – Lighten the shadows a bit, to give the foreground more detail

Moving the shadows slider to the right will reduce shadows and bring out more detail in shadowed areas, in this case I moved it to around 40-50. You don’t want to go past 60 generally as it decreases the file quality.
Step 5 – Use the temperature sliders to create sunset temperatures

You will generally move the green/magenta slider a bit more to the magenta side for sunsets, and the top blue/yellow slider in either direction depending on the mood. Blue will make it darker and yellow will make it lighter. In this case, I moved it more to the yellow because of the foreground looking nicer, and I will then make the sky more blue in the final step.
Step 6 – Increase colours using saturation and vibrance
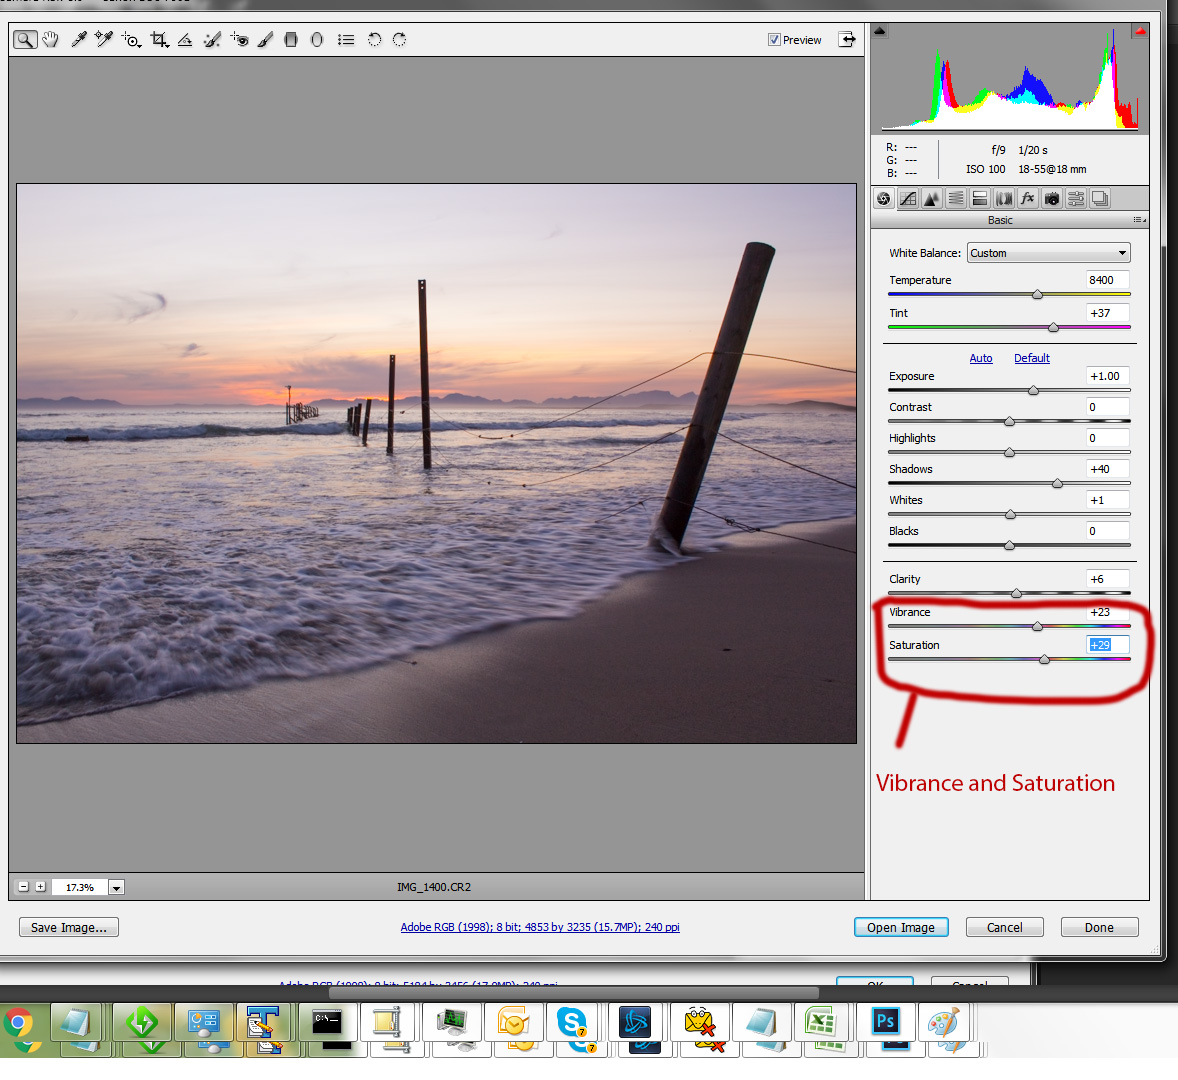
You can see the difference that has been made by just increasing the vibrance and saturation on the image a bit up, making it look more like it looked to the eye. These values will depend entirely on the image, some needing more and some needing less.
Step 7 – Gradient tool for changing sky individually

This is definitely the more complicated part of the process, but very important. The gradient tool will allow you to make changes to a part of the image. So in this case we want to make the sky more blue, so all I did was click on the gradient tool, then changed some settings on the panel on the right, such as the saturation and the temperature (made it much more blue), and then clicked at the top of the image and dragged down to the water, covering the sky. This means that the new changes in the right sidebar will only be applied to the selected area. Making the sky blue but keeping our foreground more yellow.
